The project profile section provides essential information about a specific project.
Go to the target project page, and click on the setting button on the right, click on Edit to enter the edit mode.

Profile Section
- Description
- Media
Description: You can provide additional project details on the Description page, such as the developer and builder’s names, website, project milestones, and a brief project description. This will help your team members quickly familiarize themselves with the project and better understand its selling points.
Click on Save to enter the Media section.
Media:
You can upload project images, videos or VR Display links in the media section.
Images: Click on Select Files or drop files from your device to upload.
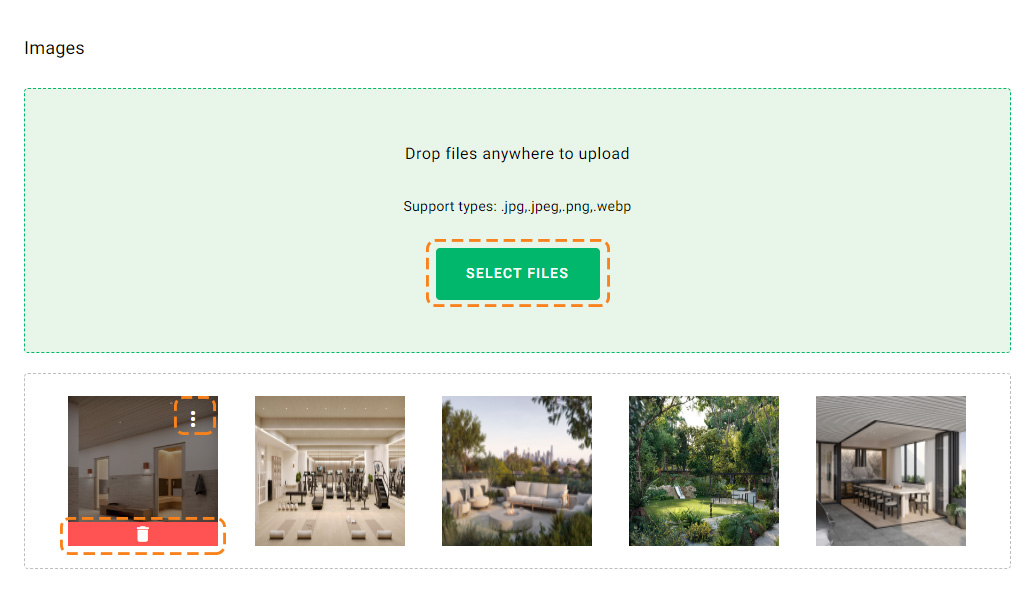
Click on the three dots icon to set the selected image as the cover image,
Click on the trash icon to remove the selected image.
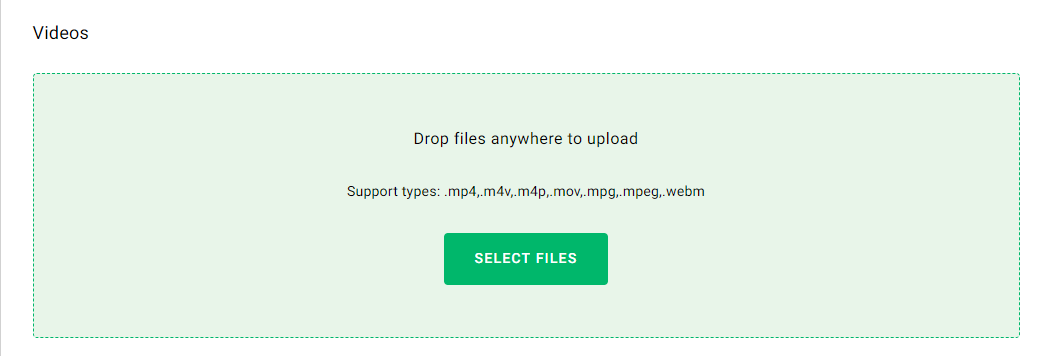
Videos: Click on Select Files or drop files from your device to upload.
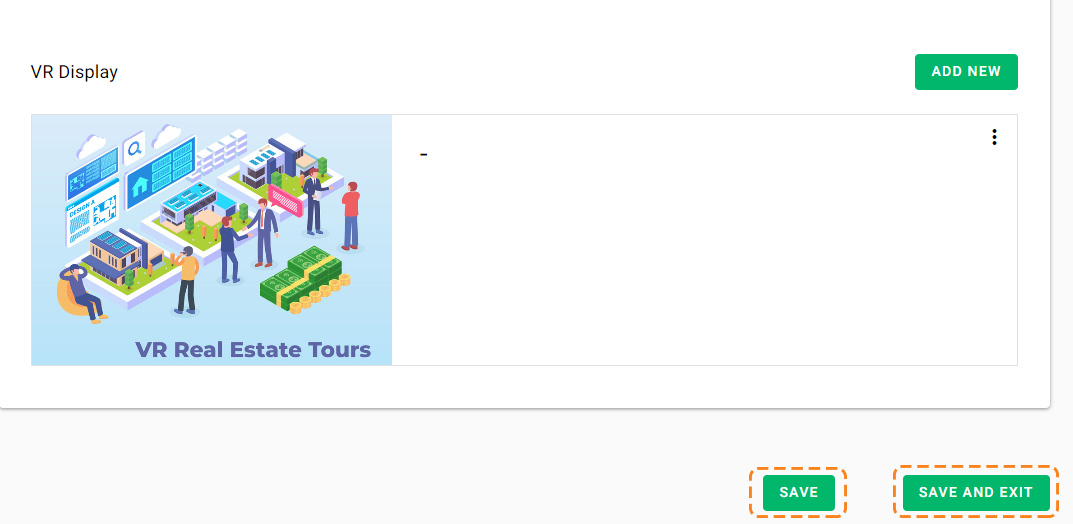
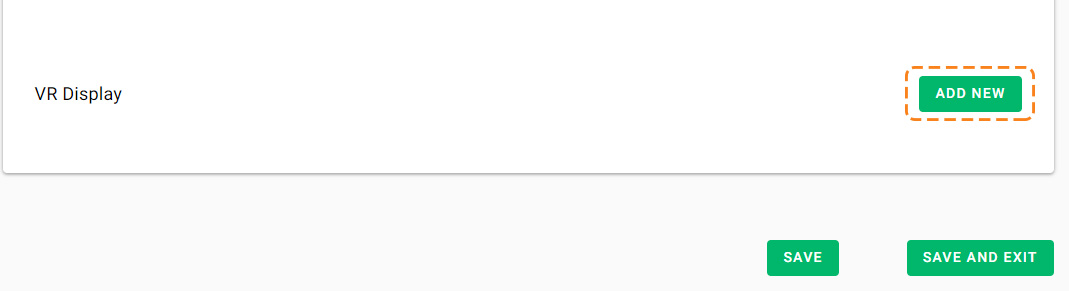
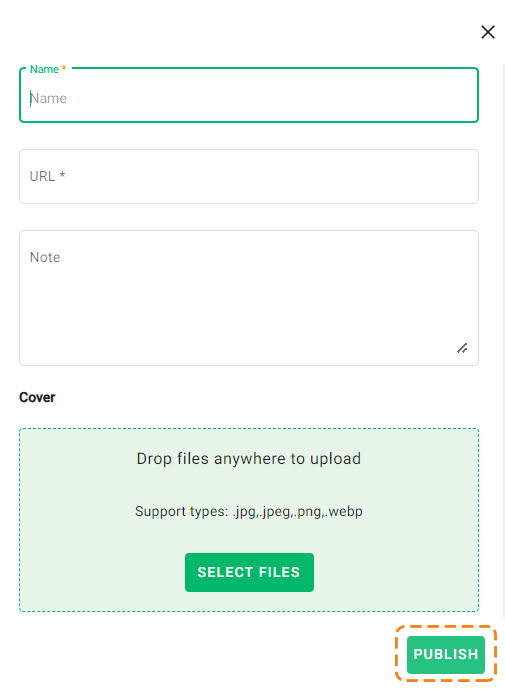
VR Display:
Click on ADD NEW.
Provide a name for this VR Display link.
Enter the URL link.
Add any necessary notes. These notes will be visible to team members and sub-agencies.
Click on Select Files or drop files from your device to upload an image as the cover image.
Click on Publish.
Click on SAVE or SAVE AND EXIT to exit the profile edit page.