Built for the Ambitious
Expands your project inventory, attracts more clients, and boosts conversion rates. RealtyCMS turn your ideas into results and your ambition into success.
Tailor-Made Solutions for Every Player in the Aussie Property Market
RealtyCMS addresses the specific needs of developers, agencies, and builders with specialized tools
For Developers
Expand your reach and streamline project sales with a large-scale network of trusted agencies, all while maintaining complete control.
Key Capabilities
- Build and manage a large-scale channel network with select agencies in real time
- Monitor performance and identify which agencies bring the most qualified leads
- Automatic updates ensure all partners are using the latest materials
Agency Performance
Ray White
24 leads
For Real Estate Agencies
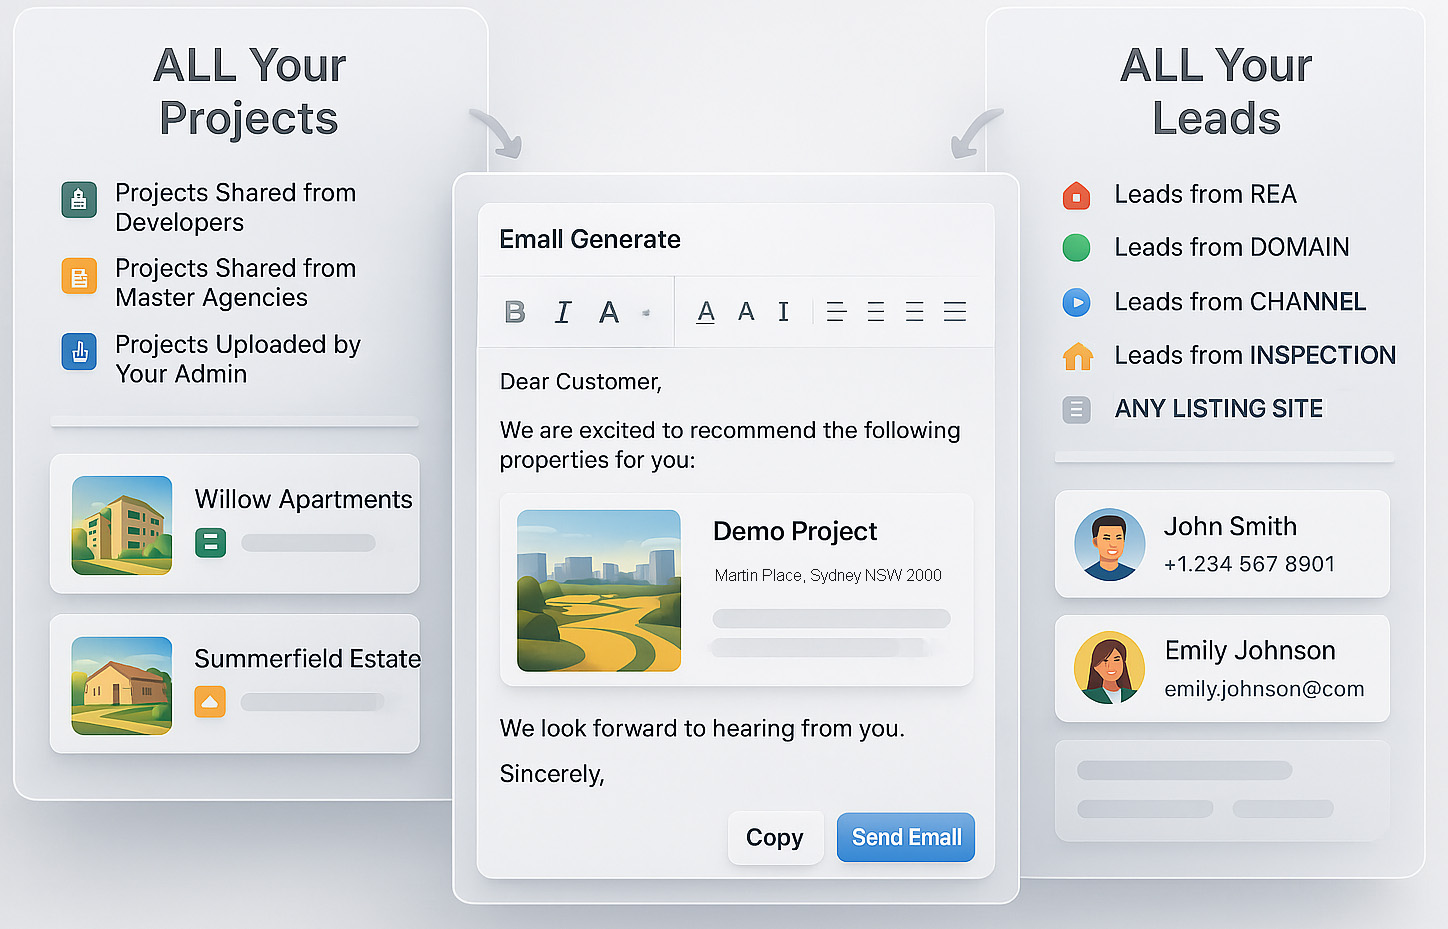
Access a wider range of popular projects, automate lead capture, and create professional marketing materials with minimal effort.
Key Capabilities
- Connect with popular projects and aggregate all developer-shared listings into one system
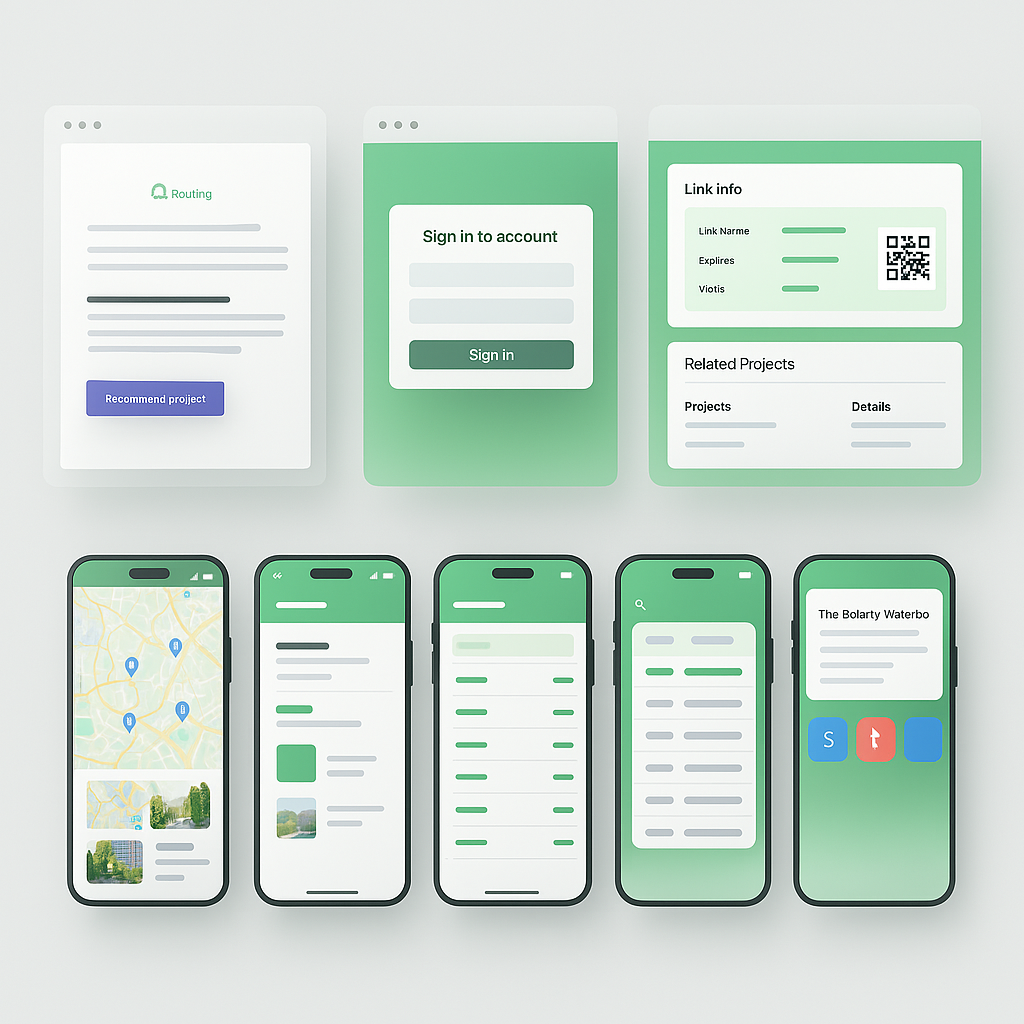
- Built-in CRM automatically captures and routes inquiries to the right agents
- Generate professional agent websites with real-time listing updates
New lead assigned
Just now
For Builders (House & Land)
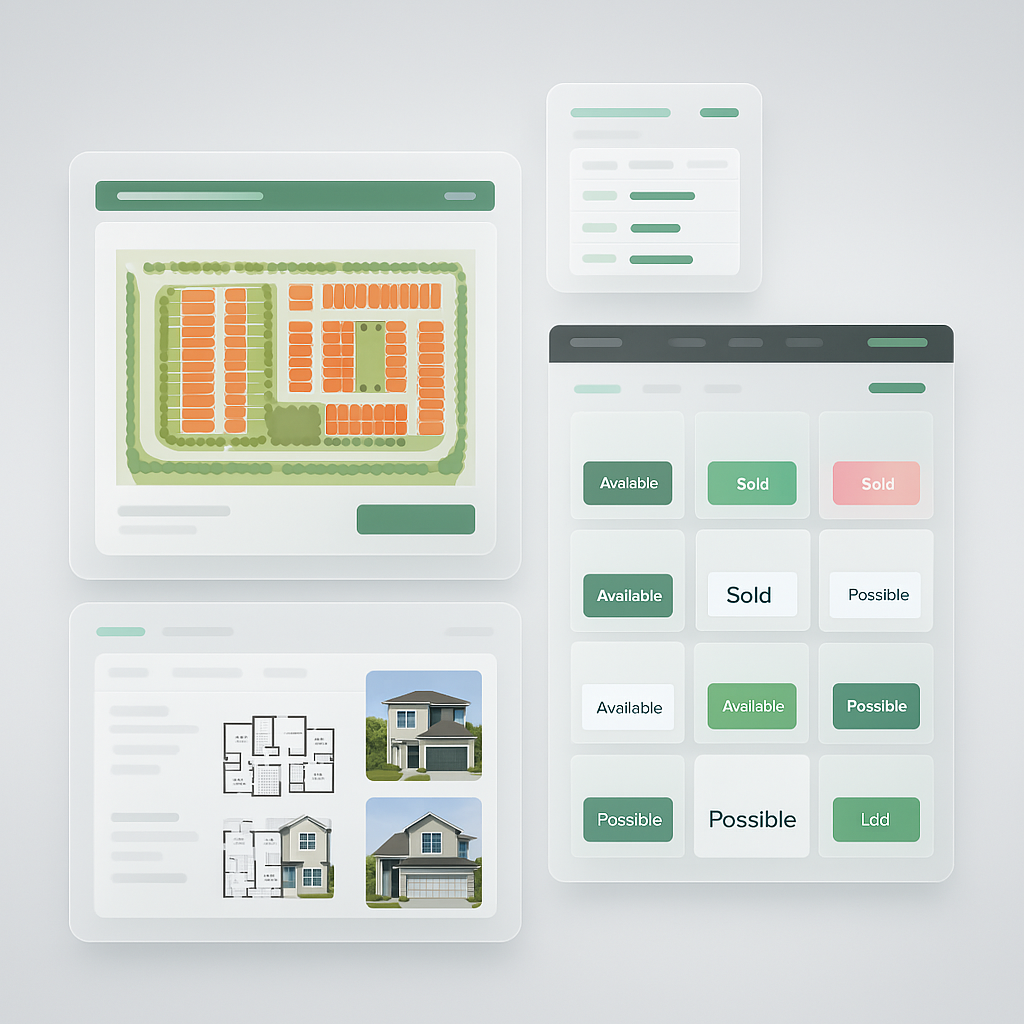
Obtain precise land project information and simplify the creation and distribution of House & Land packages, saving time and expanding your market reach.
Key Capabilities
- Access precise land project information and match with your design libraries
- Instantly create and publish House & Land packages to partner agencies
- Changes to your designs reflect platform-wide, keeping info consistent
House & Land Match
Why Choose RealtyCMS?
The all-in-one platform that transforms how Australian property professionals sell real estate
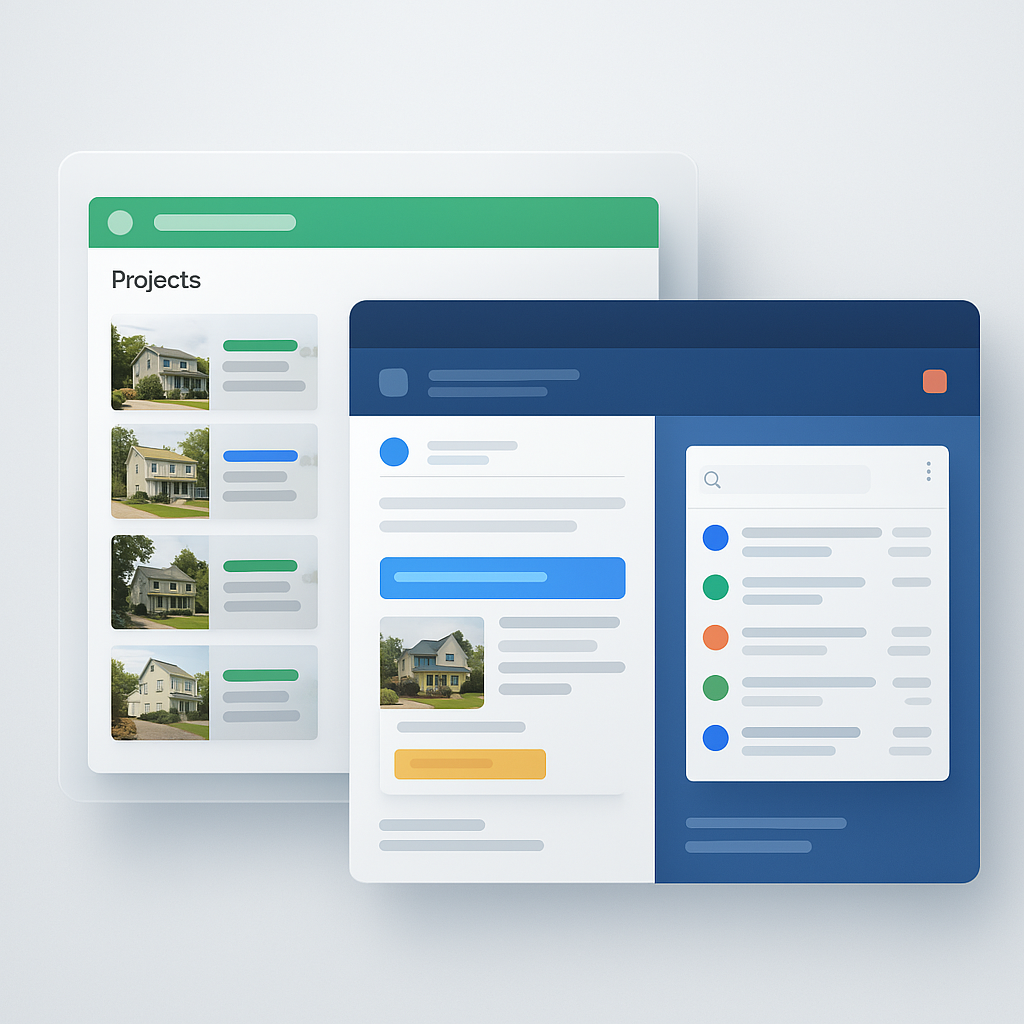
Centralised Property Hub
Manage all listings—apartments, house & land, off-the-plan—in one platform. No more scattered PDFs or conflicting spreadsheets.
Seamless Cross-Company Sharing
Authorise your projects to multiple agencies with real-time data sync. Increase exposure while maintaining full control over your brand and materials.
Automated Lead Capture & CRM
Leads from Domain, REA, or your website automatically flow into a single CRM. Respond faster, reduce admin work, and never lose a hot lead again.
Instant Websites & Landing Pages
Generate branded websites to showcase your listings—no coding required. Present a professional interface to buyers, all synced with real-time updates.
House & Land Packaging
Builders can upload design specs, then quickly match land to create H&L packages. Simplify an otherwise time-consuming process and scale your marketing efforts.
Sales Analytics
Track conversion rates, identify top performers, and optimize your sales process with data-driven insights.
Want to see it in action?
Trusted by 400+ Aussie Developers, Agencies & Builders
Hear from real estate professionals who have transformed their business with RealtyCMS
"Our off-the-plan project sold out 20% faster with RealtyCMS linking us to multiple sales agencies—no more manual updates!"
John W.
Developer
"We centralised listings from four developers in one dashboard and our lead response time improved by 35%."
Sarah K.
Agency Director
"Creating House & Land packages used to take hours. With RealtyCMS, we can match designs to land and share with agencies in minutes."
Michael R.
Builder
Pricing Plans
Choose the plan that works best for your business needs
Free Plan
No setup fee
Includes 5 User Accounts
- Search Projects by Name
- Share Projects with Your Staff
- Map View of Authorized Projects
- Public Article Materials
Ideal for small teams just starting out, or anyone who needs to explore RealtyCMS before committing.
Get StartedProfessional Sales Plan
$500 setup fee
Includes 5 User Accounts
Everything in Free Plan, plus:
- Upload Your Own Projects
- CRM (Capture Leads, Auto Email Marketing)
- Website Generation
Perfect for growing sales agencies looking to streamline lead capture and publish their listings online.
Get StartedBuilder Plan
$1000 setup fee
Includes 5 User Accounts
Everything in Professional Plan, plus:
- Limited Channel Invitations
- Builder Design Tools
- House & Land Package Creation
Ideal for builders who need more flexibility in inviting partners and showcasing designs under one system.
Get StartedDeveloper Plan
$1000 setup fee
Includes 5 User Accounts
Everything in Professional Plan, plus:
- Unlimited Channel Invitations
- Channel CRM
- Advanced Analytics Dashboard
Tailored for larger developers or master agencies with extensive partner networks and channel management needs.
Get StartedAdditional users: All paid plans include 5 user accounts. Extra users can be added for $20 each per month.
Which Plan is Right for You?
No matter where you are in the real estate ecosystem—starting small, actively building, or managing multiple channels—there's a RealtyCMS plan to match your goals and budget. Choose the plan that fits your current needs and scale up anytime as you grow.
Ready to Get Started?
Ready to Streamline Your Property Sales?
Don't let outdated workflows and missed leads hold you back. Join RealtyCMS to transform how you manage listings, leads, and House & Land packages.